A few weeks ago, the power button on my air conditioner remote started acting up.
At first it needed a harder press. Then a firmer press. Eventually I found myself jabbing at it repeatedly like I was trying to negotiate with the remote rather than operate it.
The rest of the buttons worked perfectly, so throwing away the remote felt wasteful. Besides, as an engineer, opening things up is usually more satisfying than replacing them.
The Usual Suspect: Worn Conductive Rubber
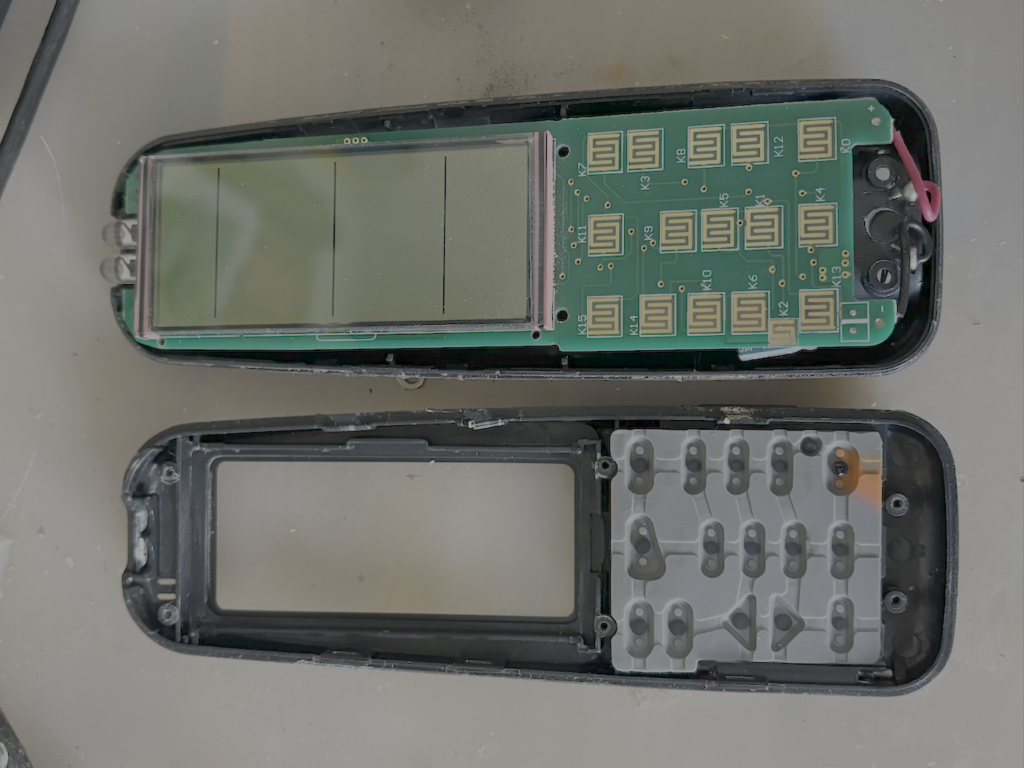
Most remote controls use a simple design. Under each button is a conductive rubber pad. When you press the button, the pad bridges two contacts on the circuit board, completing the circuit.
After years of use, the conductive coating on heavily used buttons—especially the power button—can wear down. The result is intermittent or complete failure.
Surgery Begins
I opened the remote and separated the rubber keypad from the circuit board.
The first step was cleaning everything thoroughly:
- Circuit board contacts
- Rubber keypad
- Plastic housing
A surprising amount of dirt, skin oils, and general grime accumulates inside electronics that seem completely sealed.
The Aluminum Foil Trick
If you happen to have conductive paint or conductive ink available, that’s actually a very professional repair.
Conductive repair kits are commonly used for fixing remote controls, membrane keypads, and automotive dashboard buttons. They tend to provide a clean and durable repair , although they cost more and aren’t something most people keep in a drawer.
A repair technique I’ve used before involves restoring conductivity by attaching a small piece of aluminum foil to the underside of the worn rubber button.
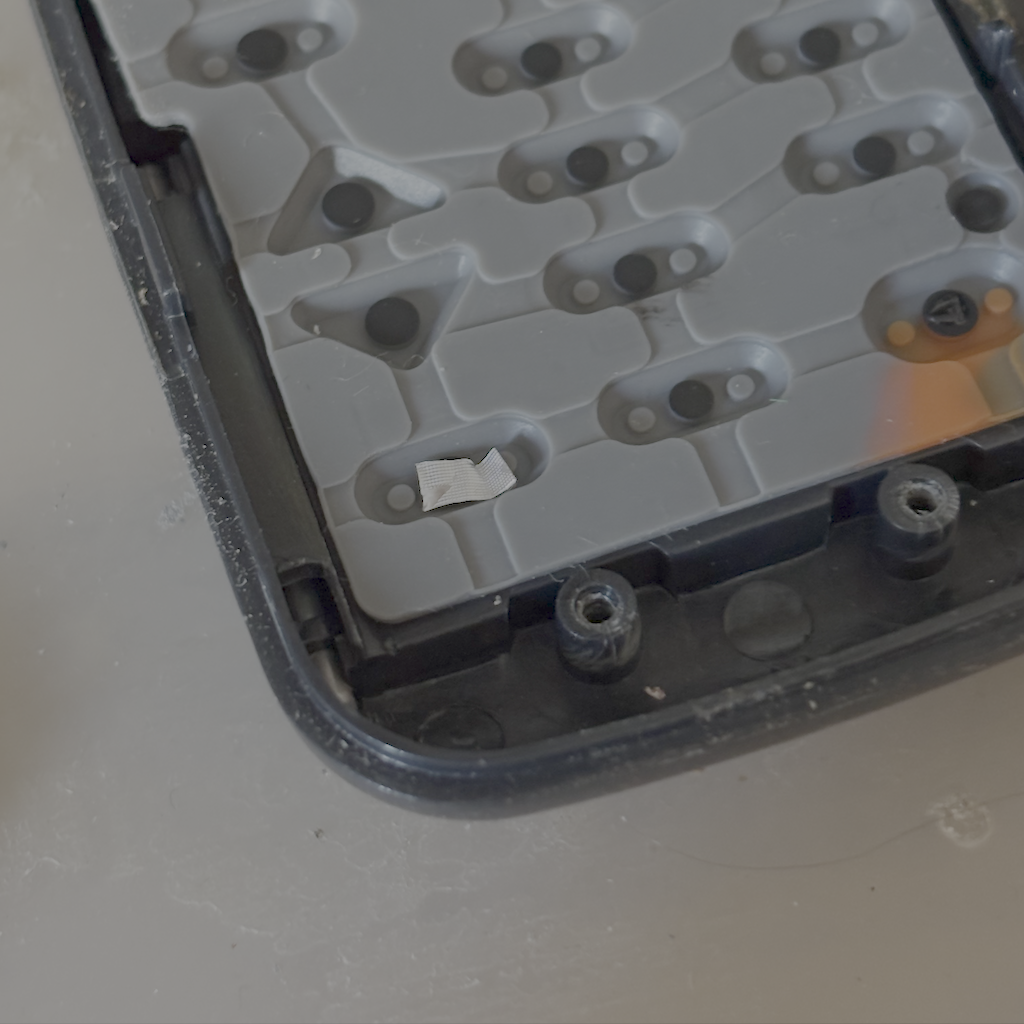
The process is simple:
- Cut a tiny piece of aluminum foil.
- Apply a small drop of glue to the center of the rubber button.
- Attach the foil with the shiny side facing outward.
- Allow the glue to dry completely.
- Reassemble the remote.
The foil acts as a highly conductive contact surface, replacing the worn conductive coating.
The Result
Success.
The power button now works on the first press every time—arguably better than it did during the last few years before it failed completely.
Why I Like Repairs Like This
The remote probably cost only a few dollars to manufacture, and replacing it would have been easy.
But there is something satisfying about understanding how a device works, diagnosing the failure, and extending its life with materials already lying around the house.
In this case, the entire repair required:
- A screwdriver
- Some cleaning alcohol
- A drop of glue
- A tiny piece of aluminum foil
Total cost: essentially zero.
Sometimes the best engineering solution isn’t buying a new gadget. It’s spending ten minutes bringing the old one back to life.
Leave a Reply