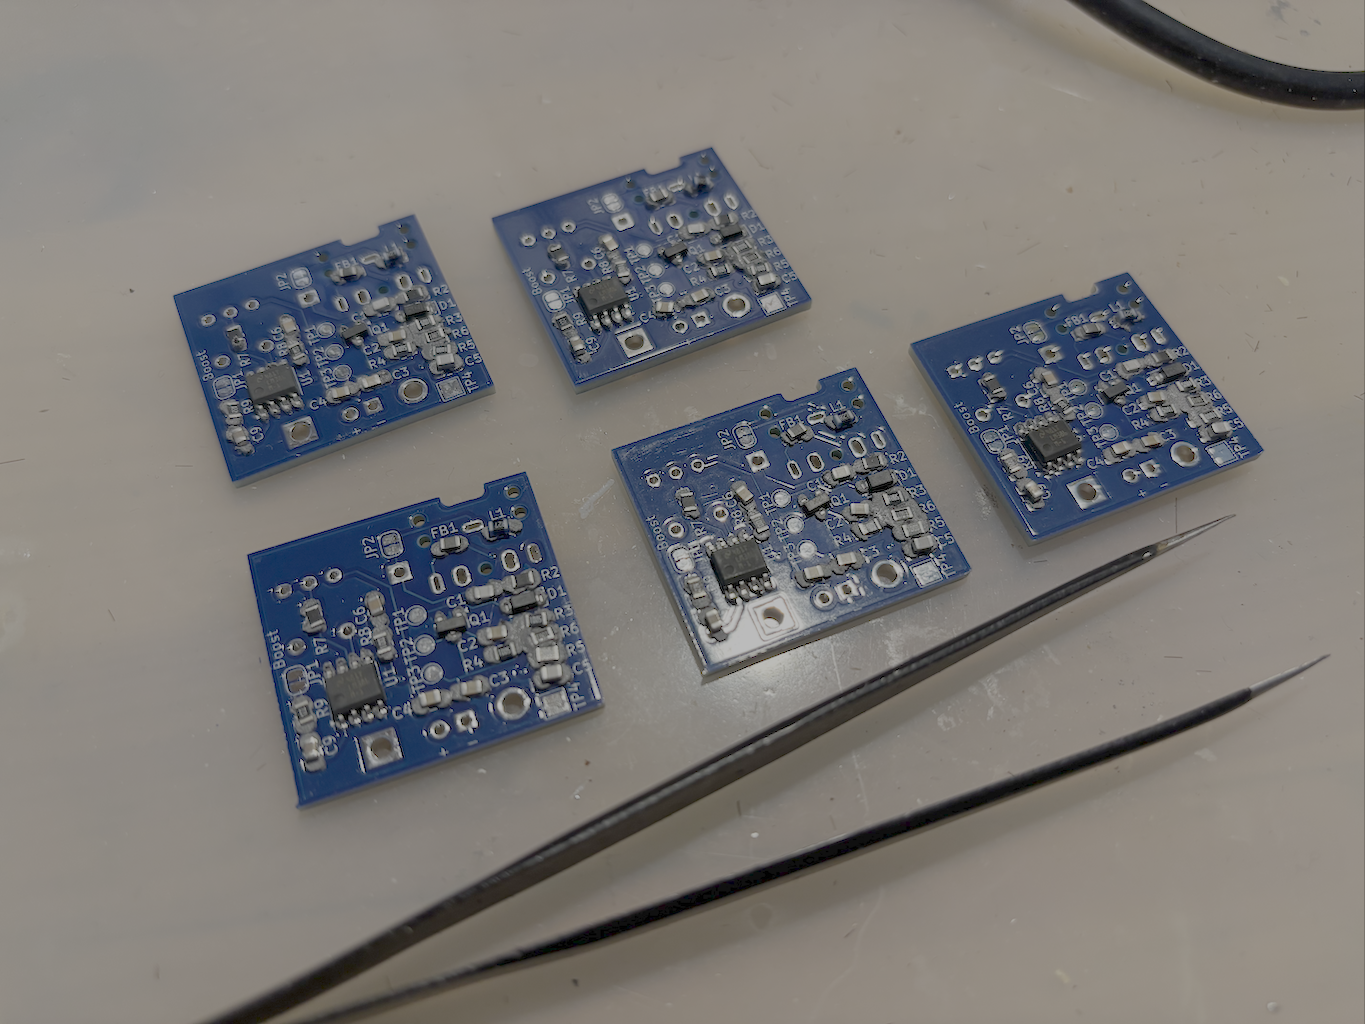
I recently embarked on a small-scale production run of a PCB with SMT components. To keep costs down, I ordered the PCBs and components separately from China and took on the soldering process myself.
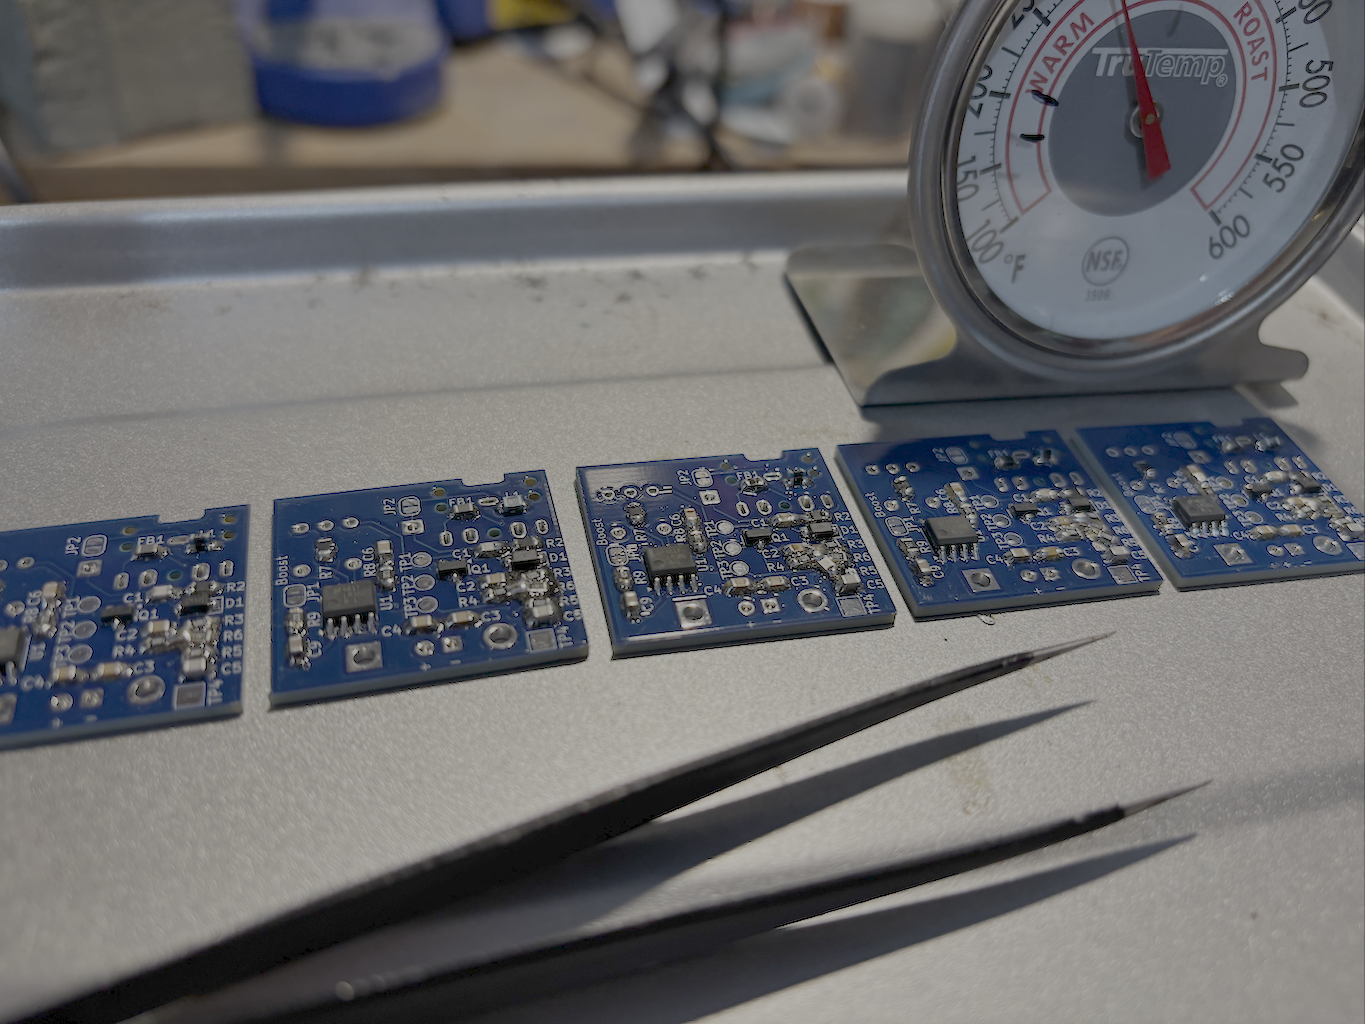
As a hobbyist, I’ve always found this approach quite manageable. I typically use a syringe with solder paste, applying it manually while using my phone as a microscope since the pads are so small. This method has served me well for years when working on one or two boards at a time. However, this time, I had a batch of ten units—and what used to be a quick task turned into an all-day endeavor.
Being an engineer at heart, I immediately started thinking about ways to optimize the process.
The Challenge: Applying Solder Paste Efficiently
The proper way to apply solder paste in a production setting is to use a stencil, just like those found in professional assembly lines. Unfortunately, I hadn’t thought ahead and neglected to order one. So, I decided to get creative and see if I could make one myself.
The Solution: A DIY Laser-Cut Stencil
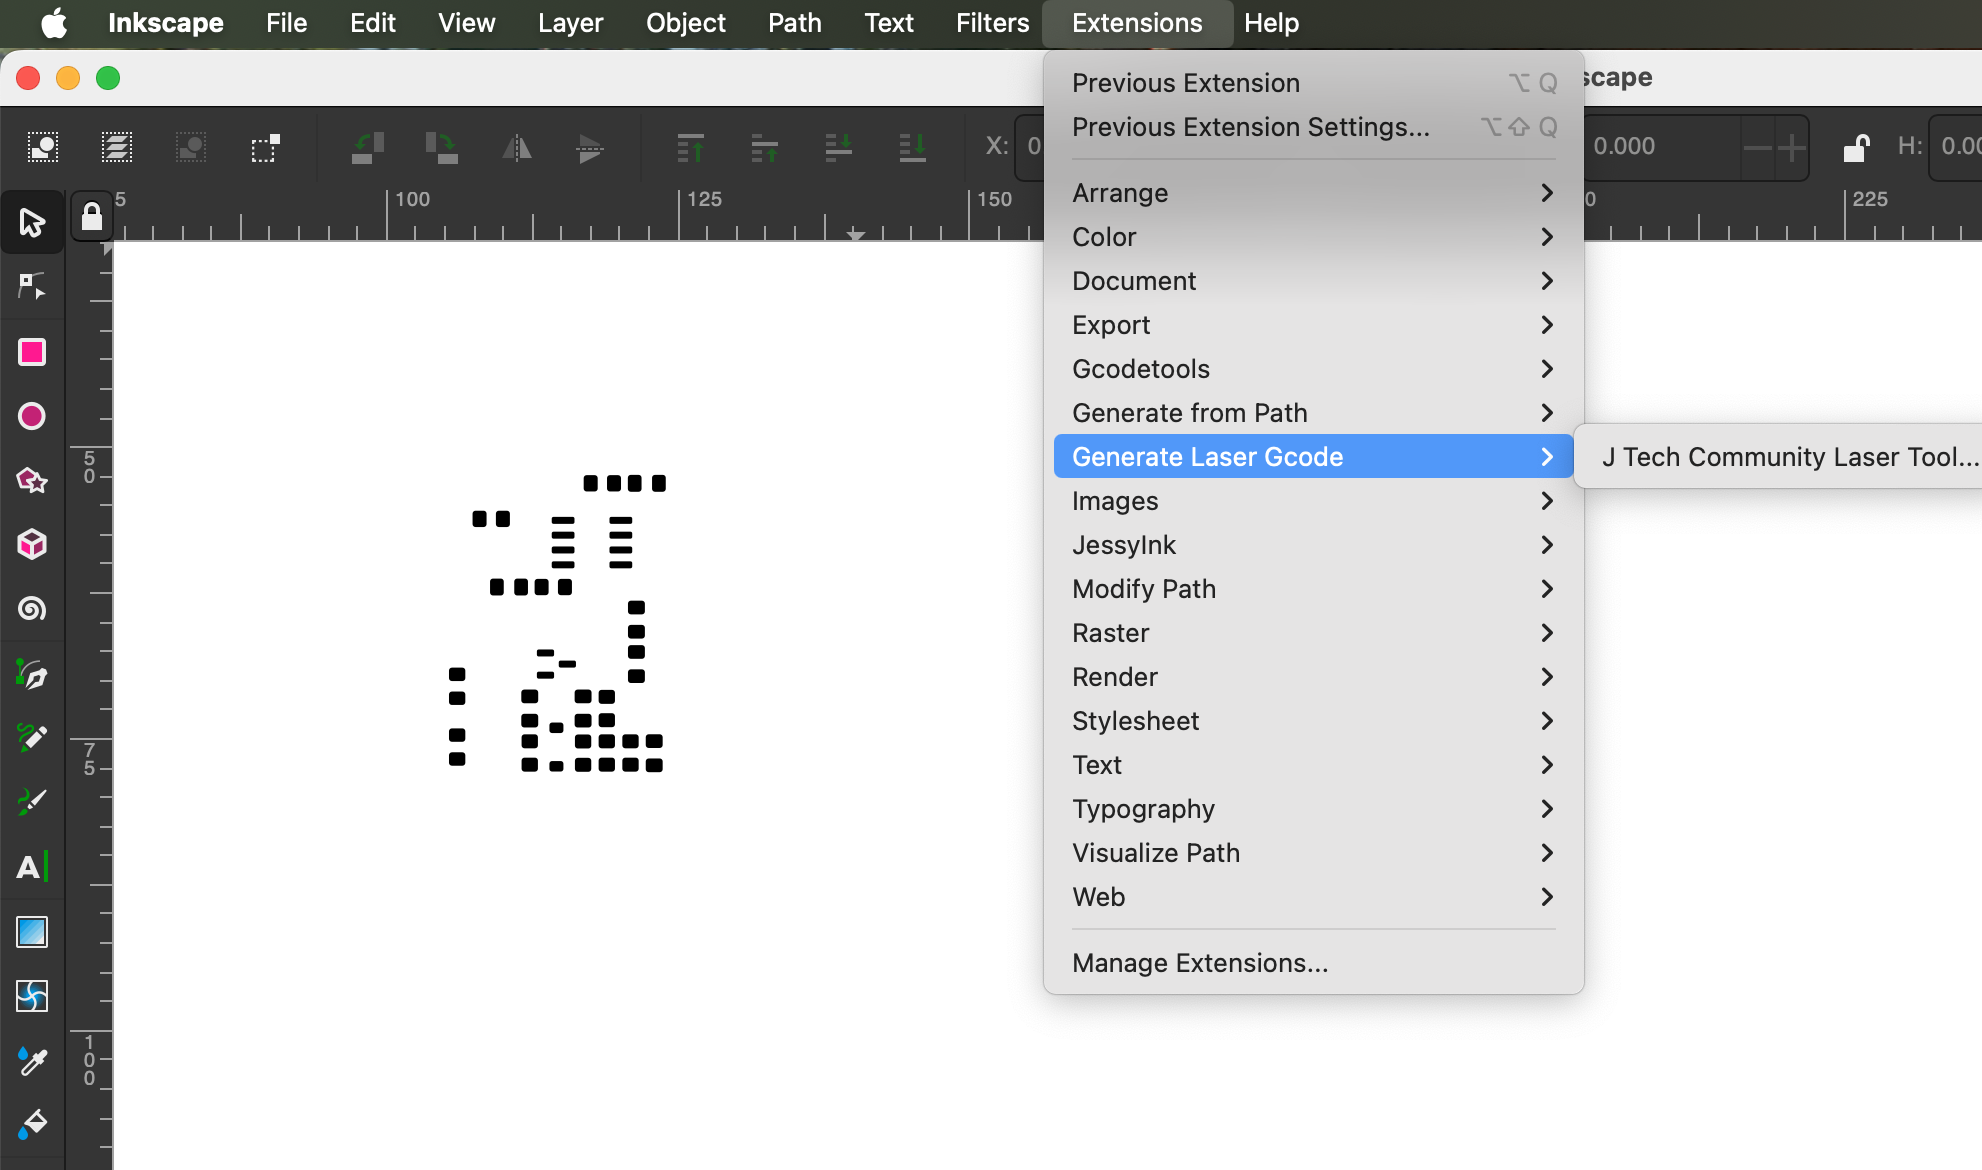
I exported the solder mask layer from KiCad as an SVG file, then opened it in Inkscape. slected the drawing and used Path->Object to path to convert it to something useful. Using the JTech plugin, I generated the G-code for my modified 3D printer, which doubles as a laser engraver.
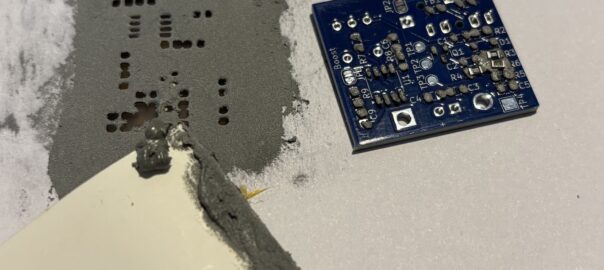
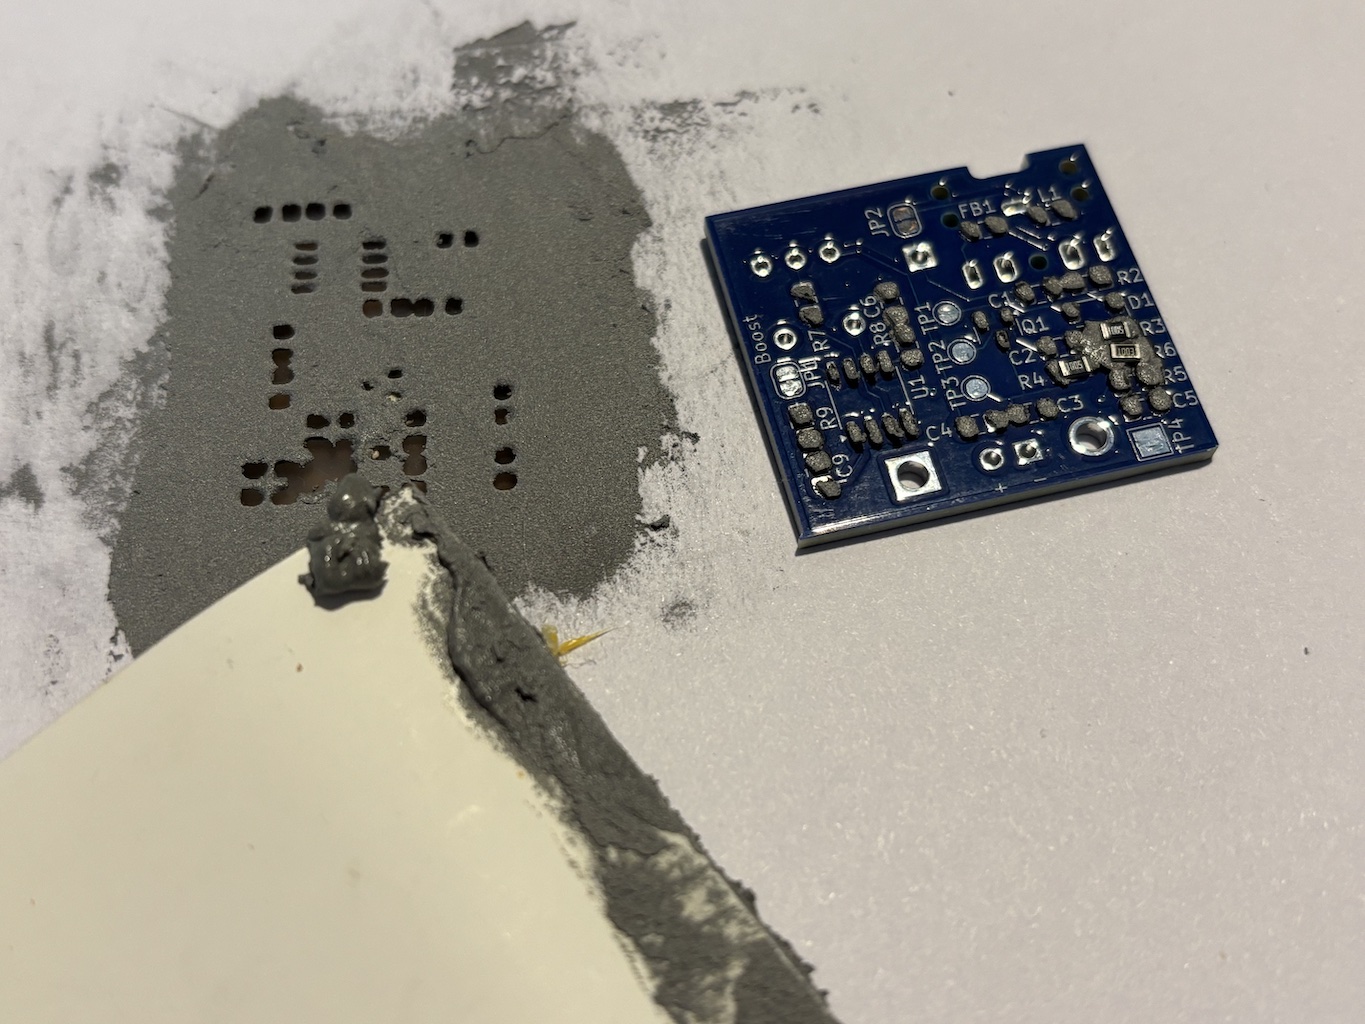
To my surprise, the results were better than expected! I used double-weight (160 g/m²) paper to ensure the stencil wouldn’t be too flimsy or tear. It held up fairly well during application, though I might try a thin plastic film next time for added durability.
Applying the Solder Paste
With the stencil in place, I spread a small amount of solder paste on one side and used a business card as a makeshift spatula to smear it evenly over the stencil openings. The paste is thicker than the ink I use for silk screen printing, so applying the right amount of pressure was key to getting a smooth, consistent layer.
Final Thoughts
This DIY approach turned out to be an effective solution for my small-scale production needs. While a professionally made stencil would still be the ideal choice, this quick improvisation saved me time and effort compared to my usual manual method. With a bit of refinement—perhaps using a sturdier material—this technique could become a reliable part of my workflow.